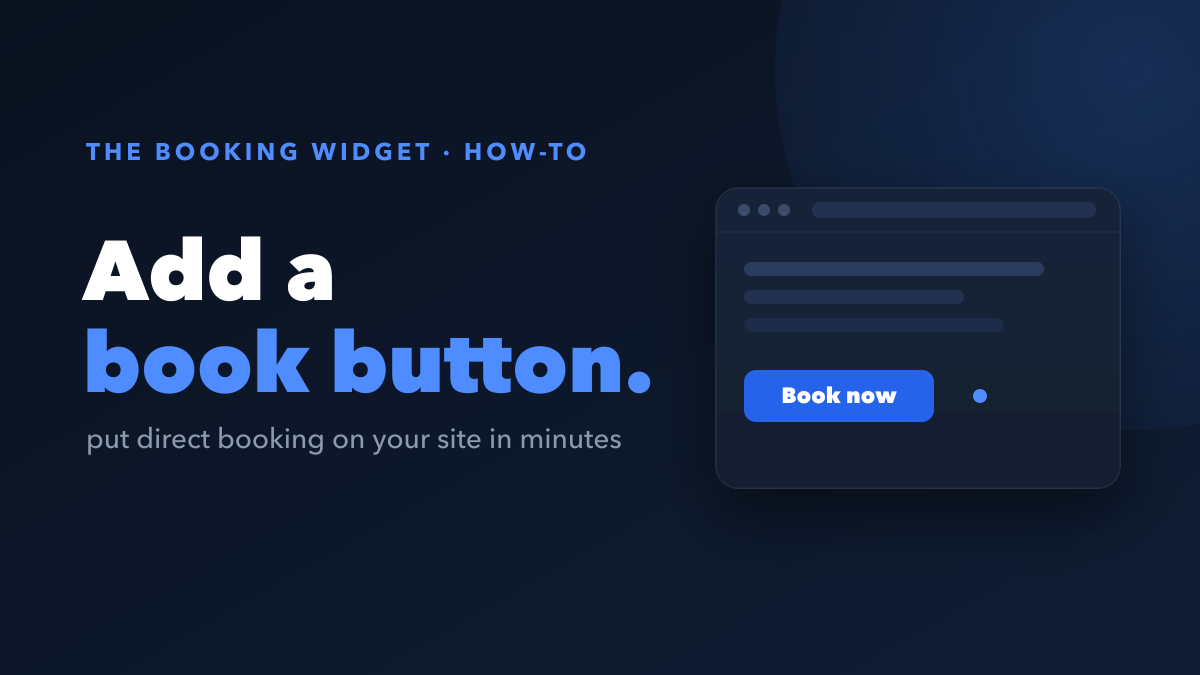
To add a direct booking button, you embed a small snippet of code that connects your website to your live availability and lets guests book without leaving the page. You can usually do it in under an hour, and you do not need a developer.
Below is the practical, step-by-step version: what to prepare, how to add the button, where to place it for the most bookings, and how to confirm it works.
What you need before you start
Before you touch any code, line up three things:
- A website you can edit. WordPress, Squarespace, Wix, Webflow, or a plain HTML site all work. You just need access to add a code block.
- A PMS or channel manager that holds your real availability and pricing. The button connects to this so it never sells dates you do not have.
- A booking tool that gives you an embeddable button. With The Booking Widget, this is free to set up; you only pay a small commission when a guest actually pays.
That is it. No new property management system, no rebuild.
Step-by-step: add a booking button
Step 1: Connect your PMS or calendar
First, link your booking tool to the system that already holds your availability. The Booking Widget connects to your PMS or channel manager and syncs dates and prices automatically, so the button always shows what is genuinely bookable. This step is what keeps you from double bookings.
Step 2: Get the embed code or button
Next, copy your embed snippet from your booking tool’s dashboard. It is usually one short block you paste once. A generic version looks like this:
<!-- Paste this where you want the booking button to appear -->
<div id="booking-widget" data-property="YOUR-PROPERTY-ID"></div>
<script src="https://app.thebookingwidget.com/embed.js" async></script>
You paste the <div> wherever the button should show, and the <script> once per page. The script renders the button and opens the booking flow when a guest clicks.
Step 3: Place it where guests decide
Then put the button where the booking decision actually happens. Do not bury it on a contact page. The highest-converting spots are:
- The hero at the top of your home page
- Each listing or room page, near the photos and price
- A sticky bar that stays visible as guests scroll
More on placement below.
Step 4: Make it mobile-first
Most rental traffic is on phones, so check the button on mobile before anything else. The tap target should be large, the text readable, and the booking flow should open full-screen without pinching or zooming. A modern widget like The Booking Widget is responsive by default, but always preview it on a real phone.
Step 5: Turn on abandoned-booking capture and reminders
Now switch on lost-basket capture. The Booking Widget records a guest’s intent the moment they start a booking, not only when they pay. Pair that with automated reminder emails and you can win back guests who picked dates but did not finish. This single setting recovers bookings most sites never even see.
Step 6: Test a real booking
Finally, run a test booking yourself from start to finish (see the section below). Do not assume it works because it appears on the page.
Where should the button go?
Put the button where the guest is ready to act, not where it is easy for you to place. Use this as a quick guide:
| Location | Why it works |
|---|---|
| Hero / top of home page | Catches ready-to-book guests immediately |
| Listing or room page | Sits at the moment of decision, next to price |
| Sticky bar (mobile + desktop) | Always one tap away, no scrolling back up |
| End of a long description | Captures guests who read everything first |
The rule of thumb: a guest should never have to hunt for how to book. If they have to scroll up or open another page, you lose some of them.
How to test it works
Test like a guest, not like the owner. Walk through the full flow:
- Open your site on a phone, not just a desktop.
- Select real dates and confirm the price and availability match your PMS.
- Complete a booking (use a test mode or a small refundable amount if available).
- Check that the booking lands in your PMS and the dates block correctly.
- Start a booking and abandon it on purpose, then confirm you see the lost basket and that a reminder fires.
If all five pass, your button is live and working.
Key takeaways
- A direct booking button is a small embed that connects your site to live availability.
- Connect your PMS first so the button never oversells.
- Place it where guests decide: hero, listing pages, and a sticky bar.
- Build mobile-first, since most guests book on a phone.
- Turn on lost-basket capture and reminders to recover near-misses.
- Always test a real booking end to end before relying on it.
Add the button once, place it where the decision happens, and your website starts doing the work your listing sites used to do for a cut of every stay.